Reach, Flanking and the Enemy Base: How Combat Works
Battles in Town of Duels are won by knowing exactly what can reach what. The rules are short, but they fit together in clever ways. This guide covers every rule that decides a fight, from your first step to the final strike on the enemy leader.
Actions and stamina
Each character has a few actions a turn and a stamina bar. Walking one tile uses an action and 1 stamina. Attacks and abilities use an action and 2 stamina. Characters recover 2 stamina at the start of your turn, up to their maximum.
So a character that marches across the board can arrive too tired to fight. Good lords plan a walk so there is still stamina left at the end of it. Scouts are the exception, because they walk without spending stamina.
A character cannot act on the turn it is summoned. It wakes up on your next turn.
Walking and reaching are different
This is the first thing to learn. Characters walk to the four tiles directly beside them: up, down, left and right. They cannot step diagonally, and they cannot walk through other figures.
But they reach all eight tiles around them. A melee character can hit an enemy on a corner, even though it could not walk there in one step. Hitting back, flanking, Guards and blocking all use the same eight tiles.
A selected character shows you what it can do on the board. Hover over an enemy to see where it could strike, which is the quickest way to learn the shape of the game.
Melee and ranged attacks
Melee characters fight the tiles around them. Ranged characters shoot in a full circle up to 3 tiles away, in every direction, and nothing blocks the shot. A selected ranged character marks that circle in pale red, so you can see exactly what it covers.
You can also walk and attack in one go. Choose a target within reach of a tile you can walk to, and the character moves there and strikes, as long as it has the actions and stamina for both.
Who hits back
In a duel, both fighters hit at once if they can reach each other. There are two important exceptions:
- A killing blow takes no hit back. If your hit defeats the target, it cannot answer. This is why finishing a wounded enemy is so valuable.
- Distance protects the shooter. A melee character cannot answer a shot from 2 or more tiles away. Another ranged character can.
Hovering over a target shows what will happen before you commit, including whether you will take a hit back.
Flanking
A melee hit deals 1 more damage when an ally stands next to the target. The ally can stand on any of the eight tiles around it. Since character health is often low, that extra point regularly turns a fair trade into a killing blow, and a killing blow takes no hit back. Move your flanker first, then attack.
Guards
A Guard protects the allies around it. While a Guard stands next to a target, and you could reach that Guard instead, you cannot attack the target. You usually have to deal with the Guard first, or find an angle where it is out of your reach. A well placed Guard can hold a whole side of the board.
Expose your target
Oracles can expose an enemy within 3 tiles, and Investigators can expose one next to them. The Unmasked City spell does the same job. An exposed enemy takes 1 more damage from every hit until your next turn, and any disguise it wore is broken.
The order matters: expose first, flank second, attack last. Together those two bonuses add 2 damage to a single melee hit.
Disguised characters
Some characters arrive in disguise and show up as an Unknown Villager, so the enemy cannot tell what they are facing. The disguise ends when they fight or when they are exposed. Be careful about what you walk past.
Map items
Lord's banners give +1 attack and Heart charms give +1 health for the rest of the battle. They appear at the start of rounds 1, 3, 6 and 10, in mirrored pairs, and the character that stands on one takes it. Bonuses can stack on the same character.
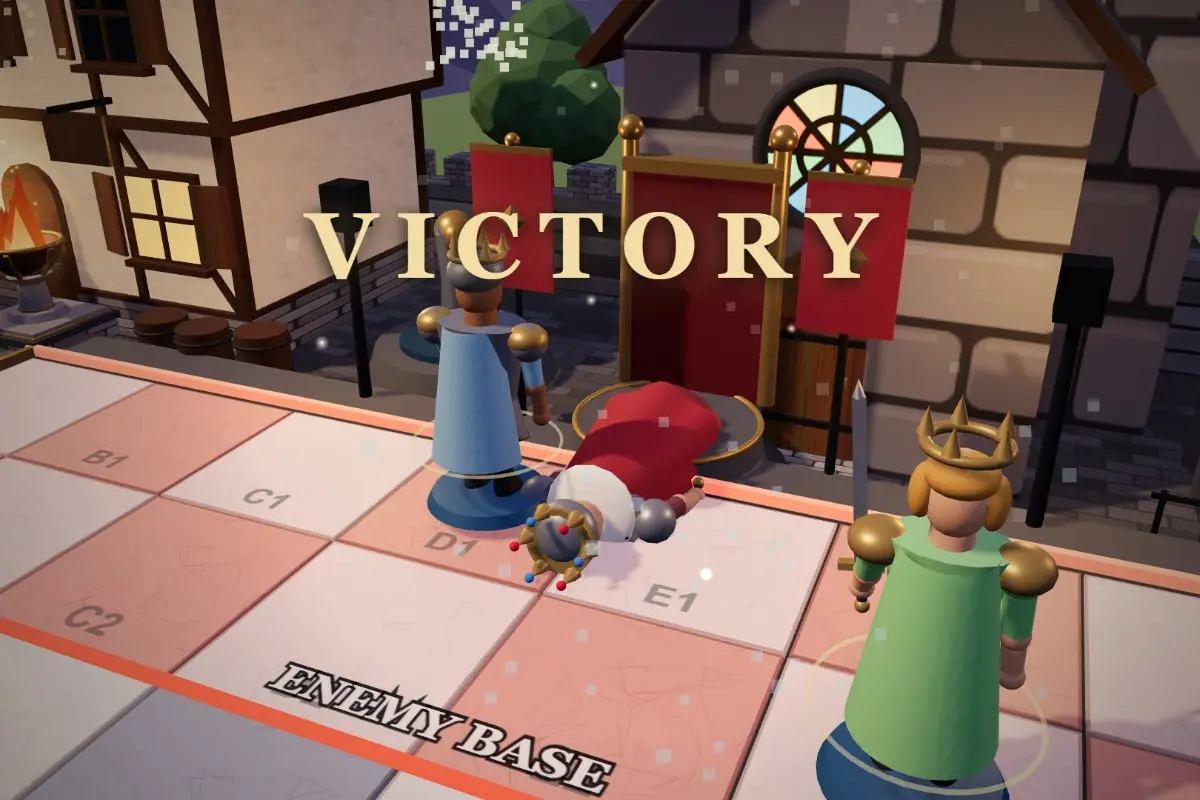
How to strike the enemy leader
This is the only way to win early, so it has its own rules:
- Only a character inside the enemy base can hurt a leader. The base is the two rows on the enemy's side of the board, behind the coloured line.
- If any enemy stands next to your character, the strike is blocked.
- A strike deals your character's attack as damage, and costs an action and 2 stamina like any other attack.
Nothing else lowers a leader's health. Spells cannot hit a leader directly, although some add power to your next strike, and an empty deck does no damage. So you always know where the danger will come from: the enemy characters in your base.
The board helps you too. A selected character marks gold tiles it could strike from, and the ring around the enemy leader pulses when a strike is ready.
How to defend your leader
Defending well is the same rules turned around:
- Check Strike danger in the top bar at the start of every turn.
- Step any character next to an invader to block its strike.
- Keep a Defender near home for this job.
- Remove the invader once it is pinned, ideally with a flank and a killing blow.
The final bell
After round 20 the final bell ends the battle. The lord with more health wins. If leader health is level, the side with more total health on the board wins, and otherwise it is a draw. A warning appears 3 rounds before, and it shows who is ahead.
Put it into practice
You do not need to memorise all of this. Play a few battles against the computer and let the board show you what each character can reach. When you are ready, read how to build a deck around these rules, then open the game and try a 1v1.